
Kneading bread dough is something that causes many new bakers to blanch and turn quickly to a different recipe. It seems daunting and difficult, something that died out with our great-grandmothers.
But kneading is so fun! Remember when you were a kid and you used to sit at your mom's kitchen table and make all sorts of fun fake foods out of Play-Doh? Kneading gives you the chance, as an adult, to get your hands into a lump of dough and transform it into something beautiful. Kneading can seem intimidating and scary, and there are some guidelines to follow, but really what you're doing is playing with dough!
Kneading is important because it develops a protein in the bread called gluten. Gluten (despite its recent unpopularity) is really important to a good bread. Gluten is necessary to give bread its structure. Without gluten, your bread will be dense and flat instead of light and airy. As you knead the dough, the gluten proteins link arms and stretch out, getting longer, creating space for the bread to rise and giving support to the bread.

To knead, turn your dough out onto a well-floured counter. The dough will be really sticky at this point so I like to flour the counter and my hands well. You will probably need to keep adding a little flour at a time as the dough absorbs it and starts to stick again.
However, only add as much flour as you need, because if you add too much flour, your bread will be dry.
Kneading has three basic motions:
Turn,
Fold,
and Push
These motions become a rhythm that is repeated over and over until your bread is cohesive and smooth.
Since I am right-handed, my right hand does the basic motions, while my left hand helps guide the dough during the turn (although, sometimes I switch hands when my right hand gets tired!)
Although, in my pictures, I am kneading with my left hand because of the camera angle.


Using your dominant hand, grab the back of the dough (at 12 o'clock) with your fingertips and start gently pulling it towards the front.

Fold the dough in half...

...and start pushing away from you with the heel of your dominant hand.

Keep pushing until your arm is fully extended.
Then you are ready for the turn.
I always move my dough in a clockwise direction and I always rotate the dough 90 degrees.

Grab the dough with your dominant hand at 9 o'clock

Turn the dough 90 degrees, using your second hand to help guide the dough
(usually my other hand is helping guide, but it was busy snapping pics!)

Then you are ready to fold once again.


And then push the dough away from you with the heel of your hand.
It's hard to break this all down because it's really one fluid motion.
Grab the dough-turn 90 degrees-fold-and push away from you.
Grab the dough-turn 90 degrees-fold-and push away from you.
Grab the dough-turn 90 degrees-fold-and push away from you.
Etc.
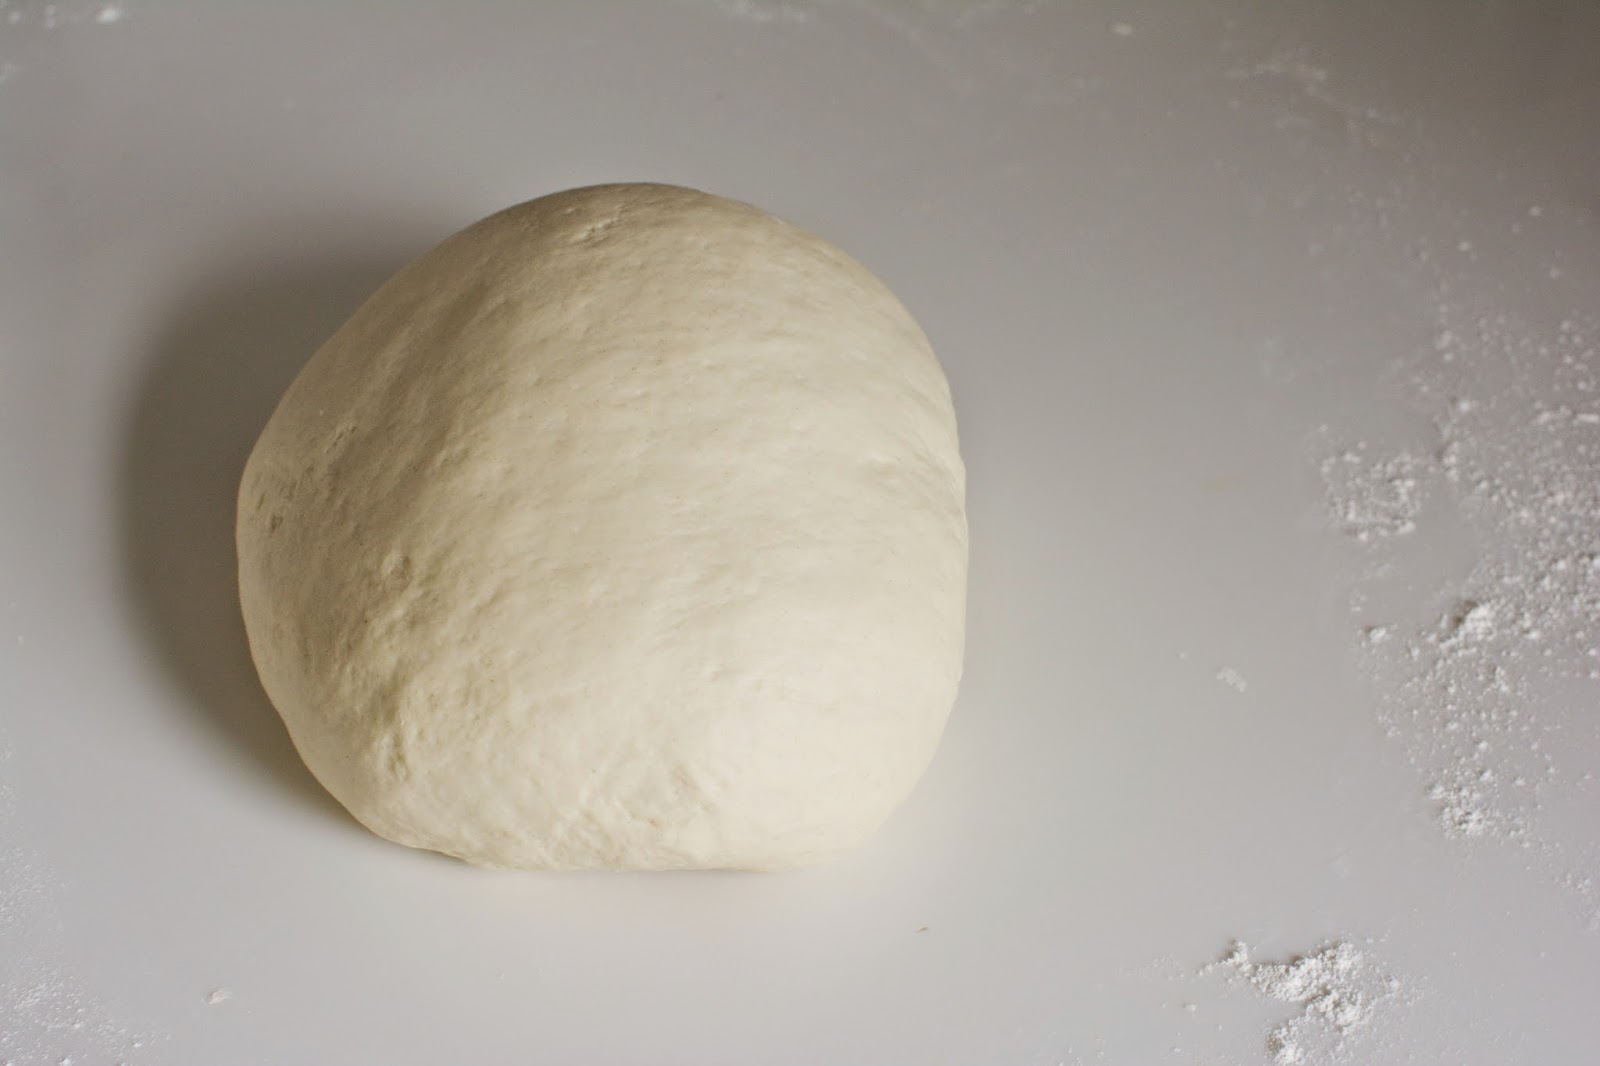
Keep kneading the dough until the dough is very smooth and cohesive.
It should feel as smooth as a baby's bum.
It will probably take you around 10 minutes.
You can check to see if you've kneaded enough by poking the dough.
It should spring back when you touch it.
Then you can proceed with the recipe, letting the dough rise (sometimes twice) before baking.
The result of proper kneading will be delicious, tall bread with a light and airy crumb.

No comments:
Post a Comment